
Tips and advice for staying warm while van-camping
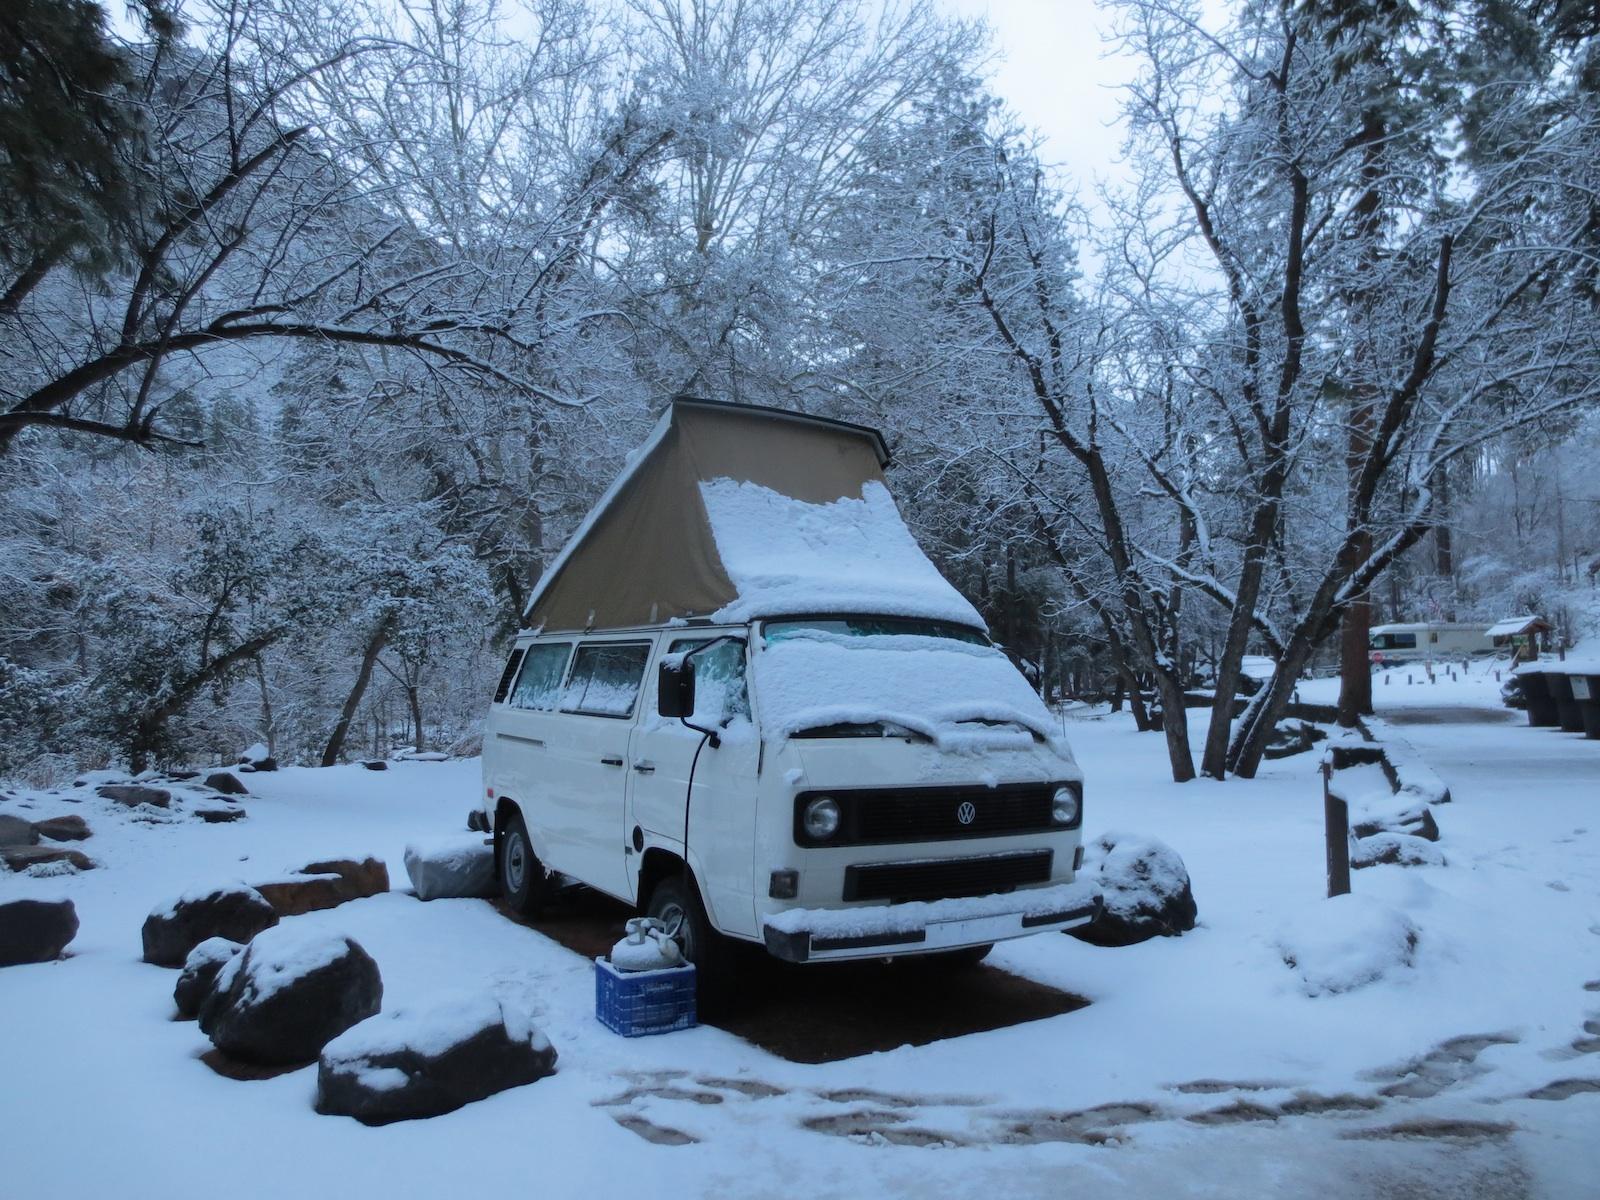
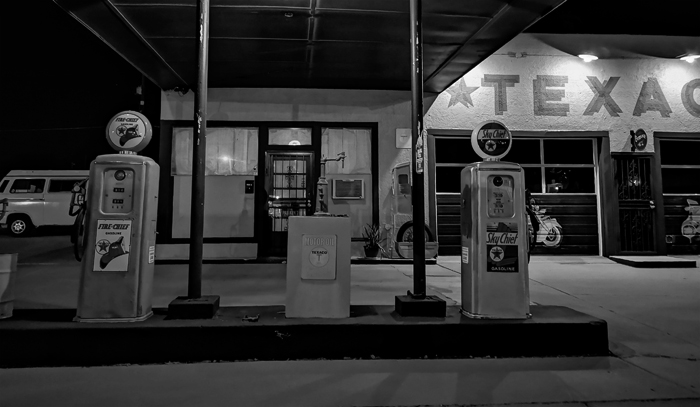
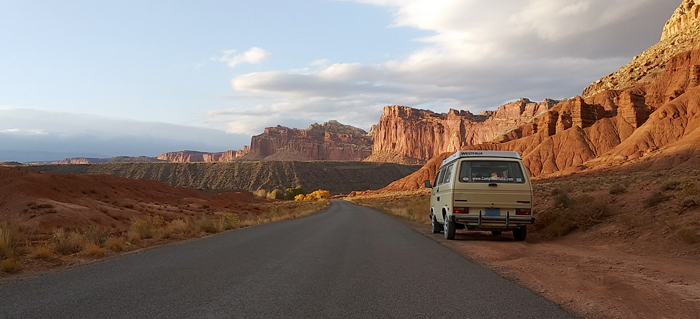
Photo: highsierra, Samba member
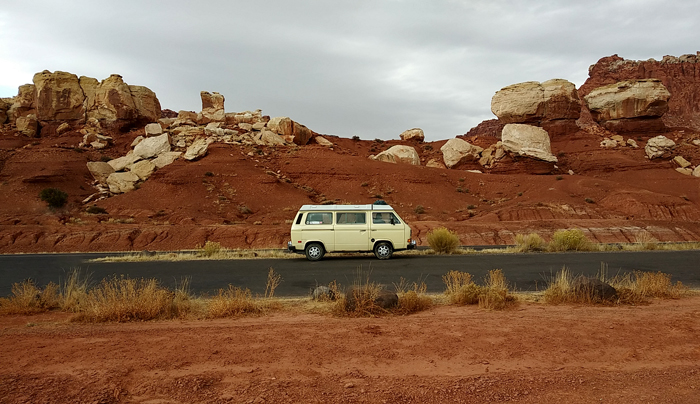
Most camper vans are put away during the colder months. But we’ve found winter to be a great time for a weekend getaway, with none of the crowds, bugs, or excessive heat of summer.
Off-season camping means you usually have your choice of campsites, too. In fact, we often find ourselves the only residents of the campground!
And winter can be a spectacularly beautiful time to see the great outdoors in a whole new light.
Here are some tips and advice for staying toasty during your own winter van-camping ventures.
Prepare your Van
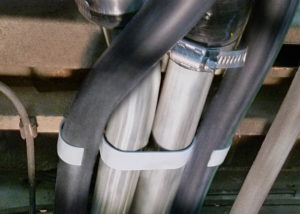
- Before embarking on winter camping forays, make sure your Vanagon’s heating and ventilation system is in good working order. Check that the front and rear heater cores are flowing correctly, and are not plugged with mineral deposits, etc.. Ensure that the heater-control valves are functioning well, and the front forced-air flaps are sealing properly to prevent the entry of cold air.
- Use a winter-grade motor oil as specified in your Owners Manual for the temperature range you plan to drive in: 10W-40 for -5 to 50F (-20 to 10C)
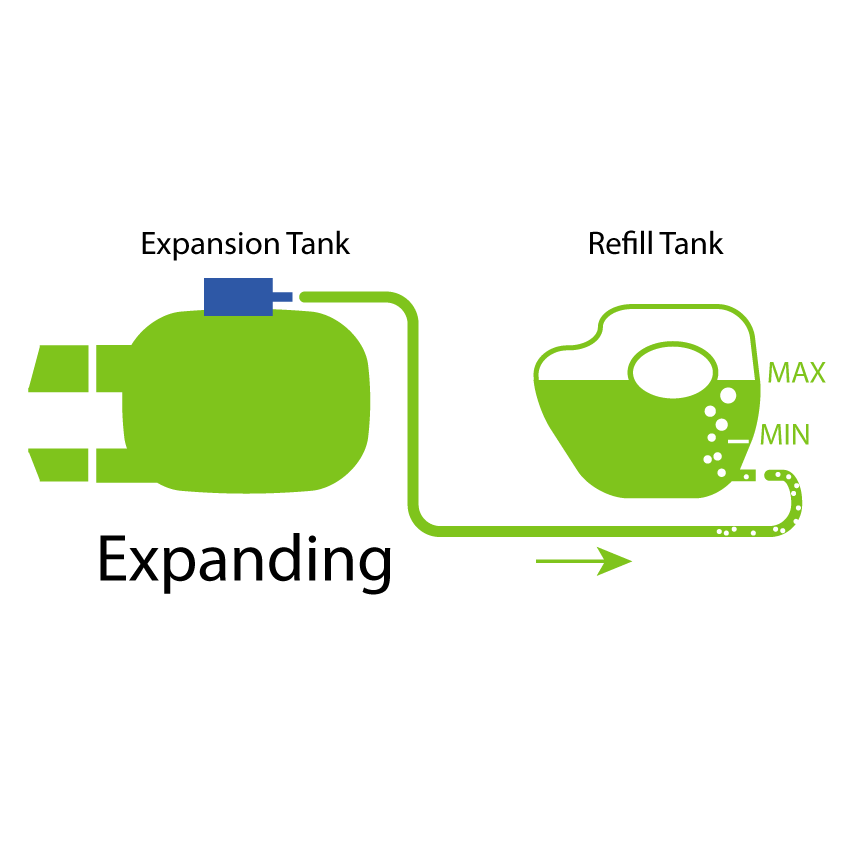
- Make sure that your coolant mixture offers the correct freeze protection for ambient temperatures. Use a simple tester to ensure you have the correct blend of water and anti-freeze.

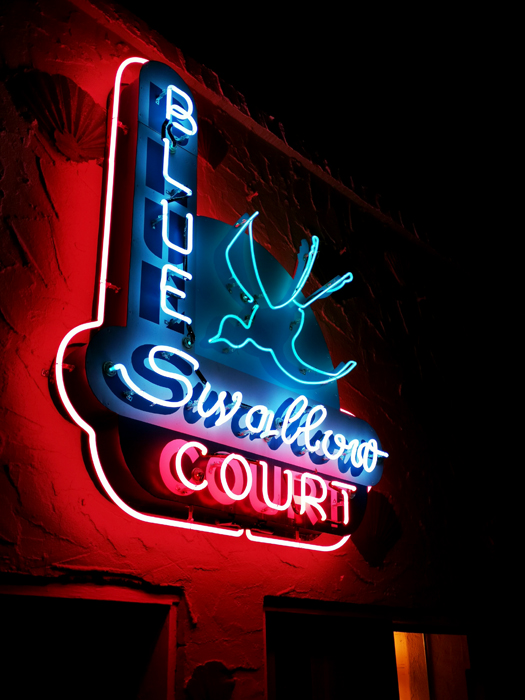
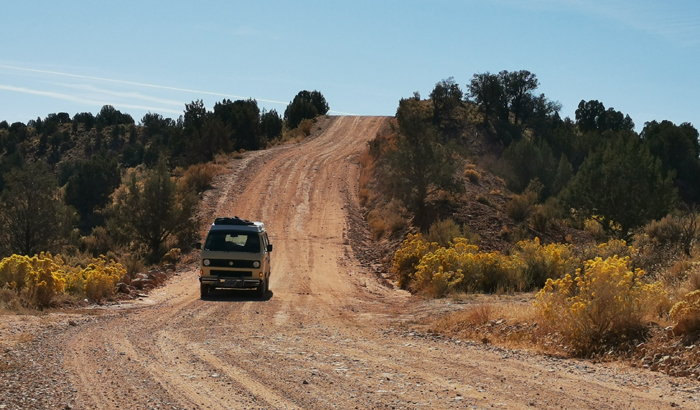
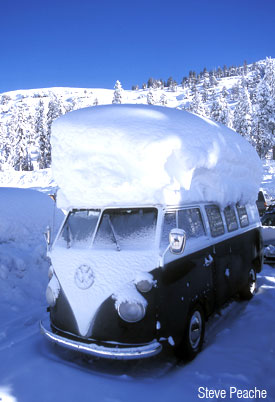
Photo: vanis13, Samba member
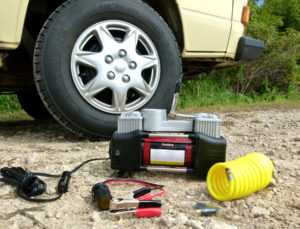
- Check that your tires are in good condition, with adequate tread. For better traction in snow and ice, you can also deflate your tires to the lower end of your safe load range.
- Use an antifreeze fuel additive suitable for your specific type of fuel (gasoline or diesel) to prevent fuel gelling or freezing.
- A winter road kit can help get you out of a snowy jam: jumper cables, tire cables or chains, a small snow shovel, extra fuel, a blanket and additional winter clothing, etc..
While Driving
- A set of cushy seat covers can help keep your bum warm on long cold drives.
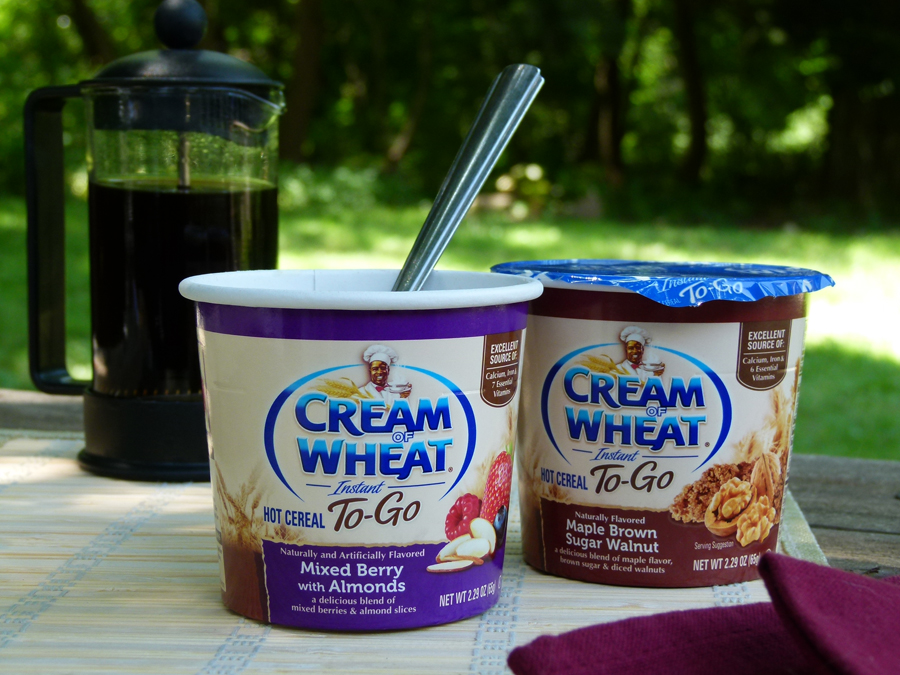
- Take occasional breaks to warm up; pause during fuel stops at convenience stores to warm up with a cuppa coffee or hot cocoa for the road.
- When driving in especially cold weather, wear additional comfortable winter clothing if necessary: gloves, hats, heavier socks. These are easy to add or remove as needed.
- Breakdowns are always an inconvenience, but can be especially dangerous in cold or snowy winter weather. Always keep good winter clothing close at hand, as well as some food, water, any crucial medications, etc..
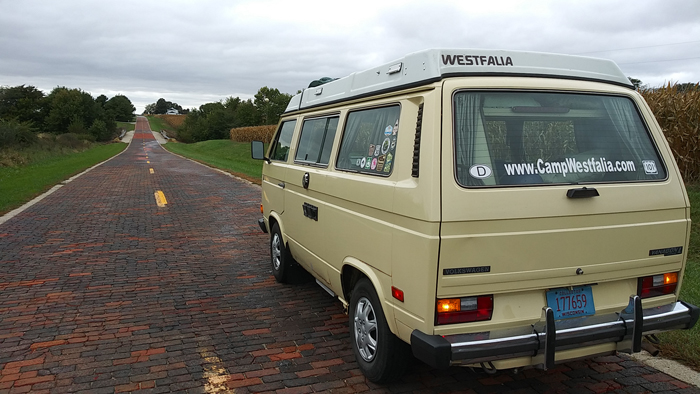
While Camped
-
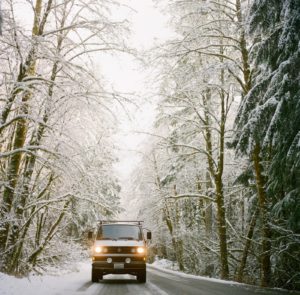
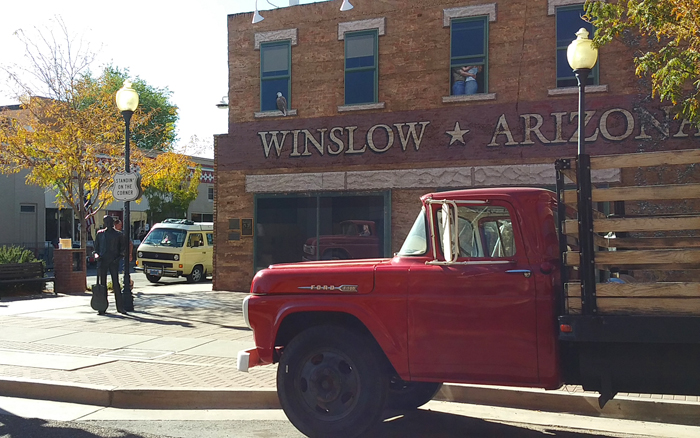
Photo: mpabegg, Samba Member
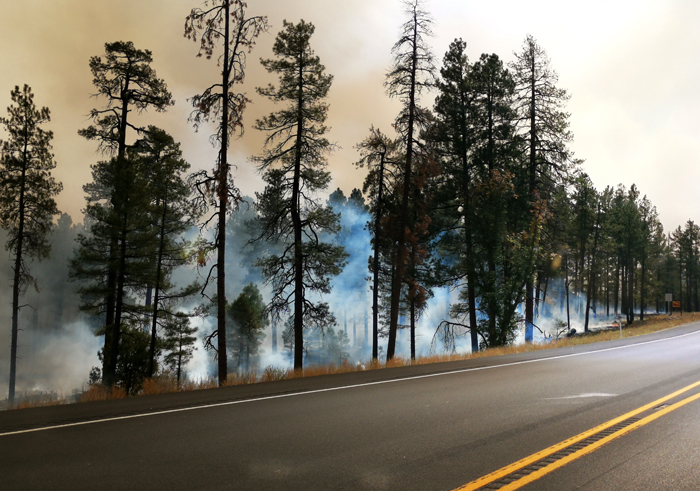
Choose a campsite that offers good protection from winter winds. Pine forests generally offer more wind protection than leafless deciduous trees.
- A site with eastern exposure will allow the morning sun to help warm your van. If at all possible, avoid raising your Westfalia popup roof, to conserve heat, but if you must, orient the rear of your Vanagon into the prevailing wind to reduce your heat loss.
- Perhaps the single best way to stay warm while camped is some sort of a space heater. Of course, there are several types available: electric (110-volt), small portable LP (liquid propane) heaters intended for camping, and permanently installed RV furnaces fueled by LP or diesel.
- Be sure to utilize a small battery-operated household carbon-monoxide detector whenever using a fueled space heater, to prevent CO poisoning.
- If 110-volt AC campsite shore power is available, an electric blanket can be a great way to stay toasty while sleeping or lounging in your camper.
- If you have one installed, use an engine block heater to help with starting on especially cold mornings; be sure you carry an extension cord and choose a campsite with a power source.
- As when driving, warm winter clothing can help take the chill off when camped. Common synthetic outdoors gear (pullovers, caps, gloves, socks, etc.) is all you’ll need.
- Add a thermal-fleece liner to your three-season sleeping bag for additional winter warmth.


- Put some hot water in an uninsulated camping water bottle and stow it at the bottom your sleeping bag, to keep your feet warm through the cold night.
- The shorter daylight hours of winter mean more time spent lounging in your van, so bring plenty of games, books, and digital entertainment.
- In the morning, bring your daytime clothing inside your sleeping bag with you to warm it up for several minutes, to avoid putting on icy clothes.
- Add a set of thermal covers to your van’s windows to help retain heat. This series of infrared photos provides some valuable insights into areas of heat loss in a Vanagon Westfalia, and offers some tips on insulating your own camper.
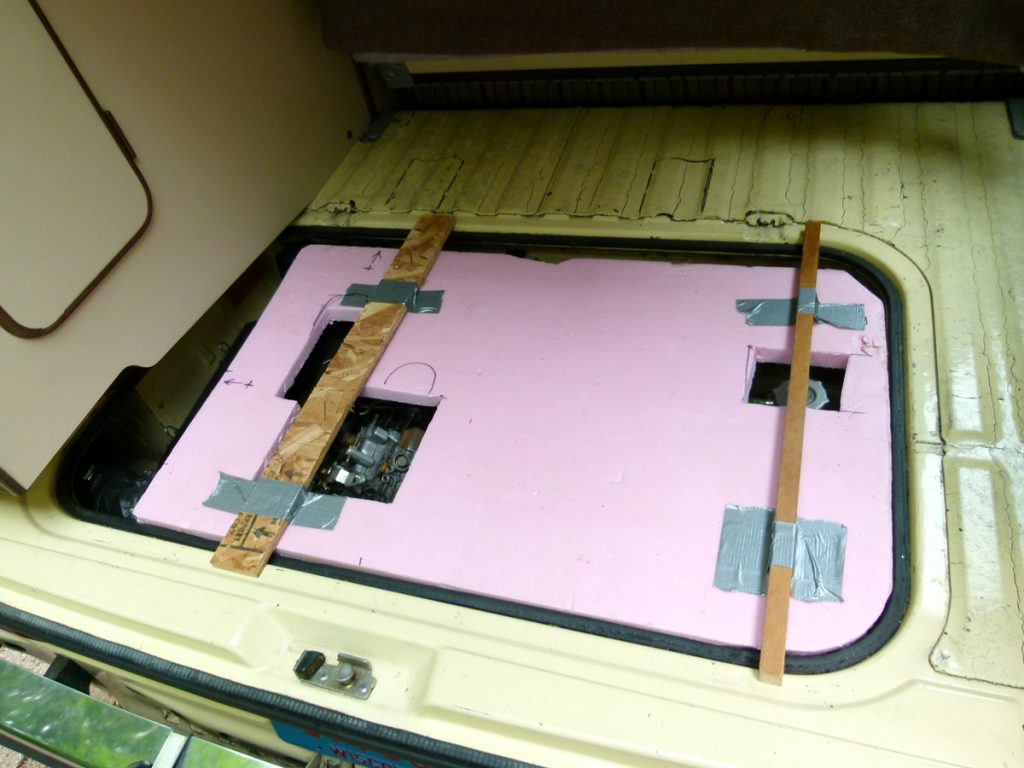
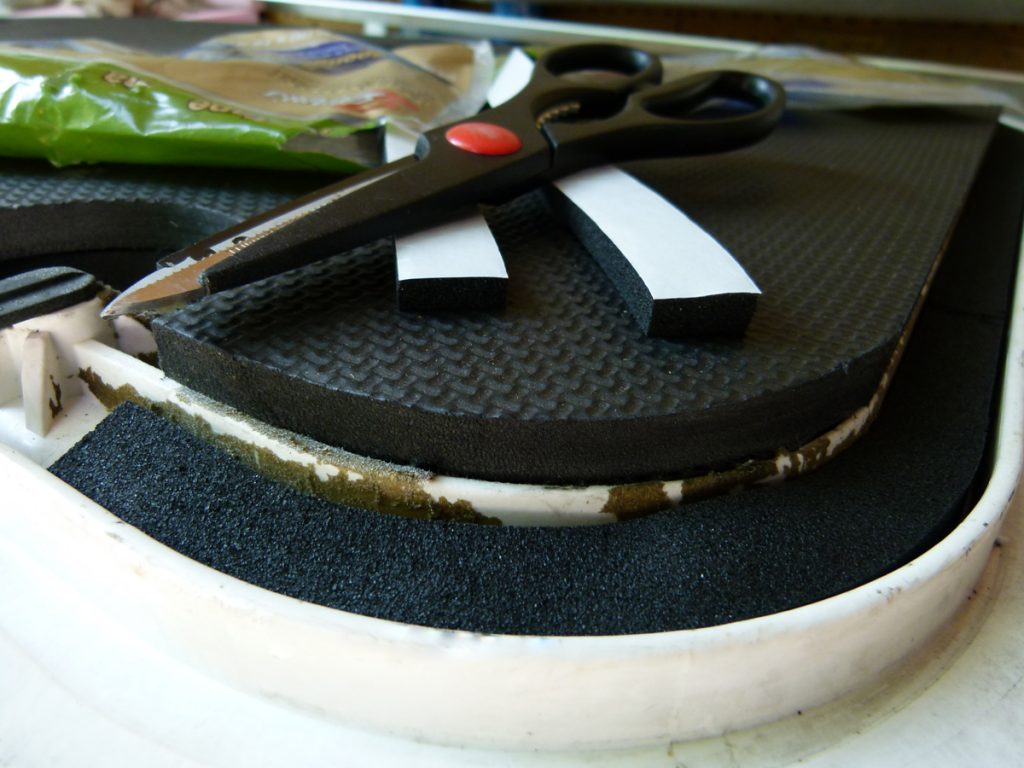
- If you ever need to remove your van’s interior panels or cabinets for other work, take the opportunity to add more insulation wherever you can.


 Freecampsites