
Travel Aids
Vanagon travellers tend to wander off the beaten path, and these old-school travel guides will help you find your way, enjoy the scenic drive, and discover a sweet campsite, even when you’re off the grid.
Travelogues
If a good map or atlas helps you with the ‘how and where’ of a road trip, these epic travelogues will inspire you to find your own ‘why.’
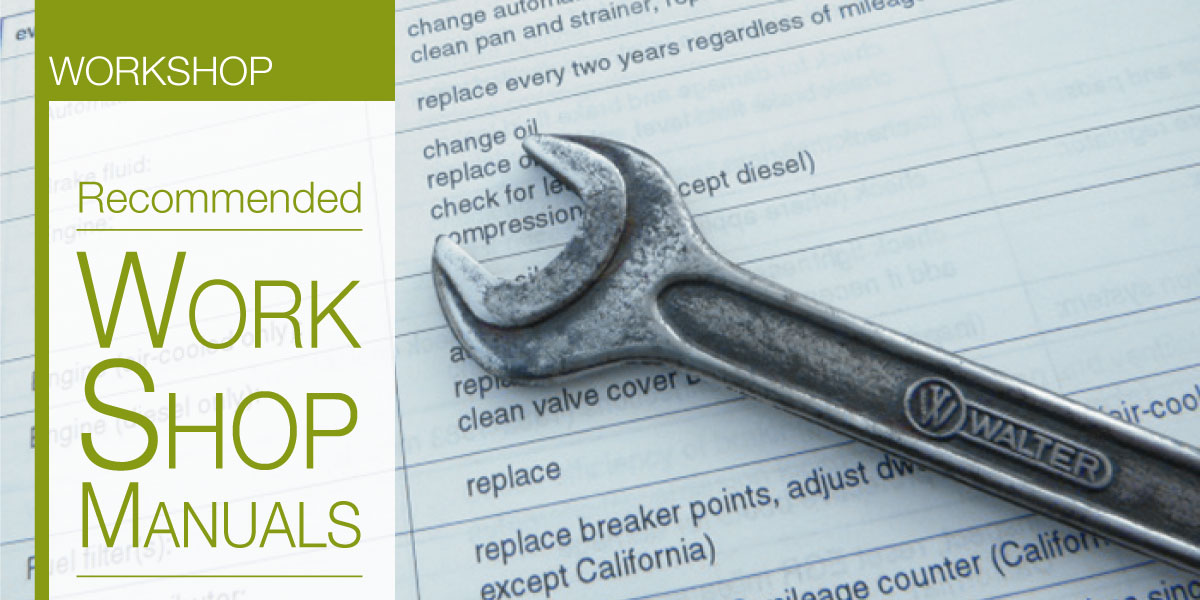
Workshop Manuals
Though few modern cars are as easy to work on as the Vanagon / Transporter, these workshop manuals will not only help you be a better partner to your Vanagon, but also to reclaim the lost art of self-reliance and independence.


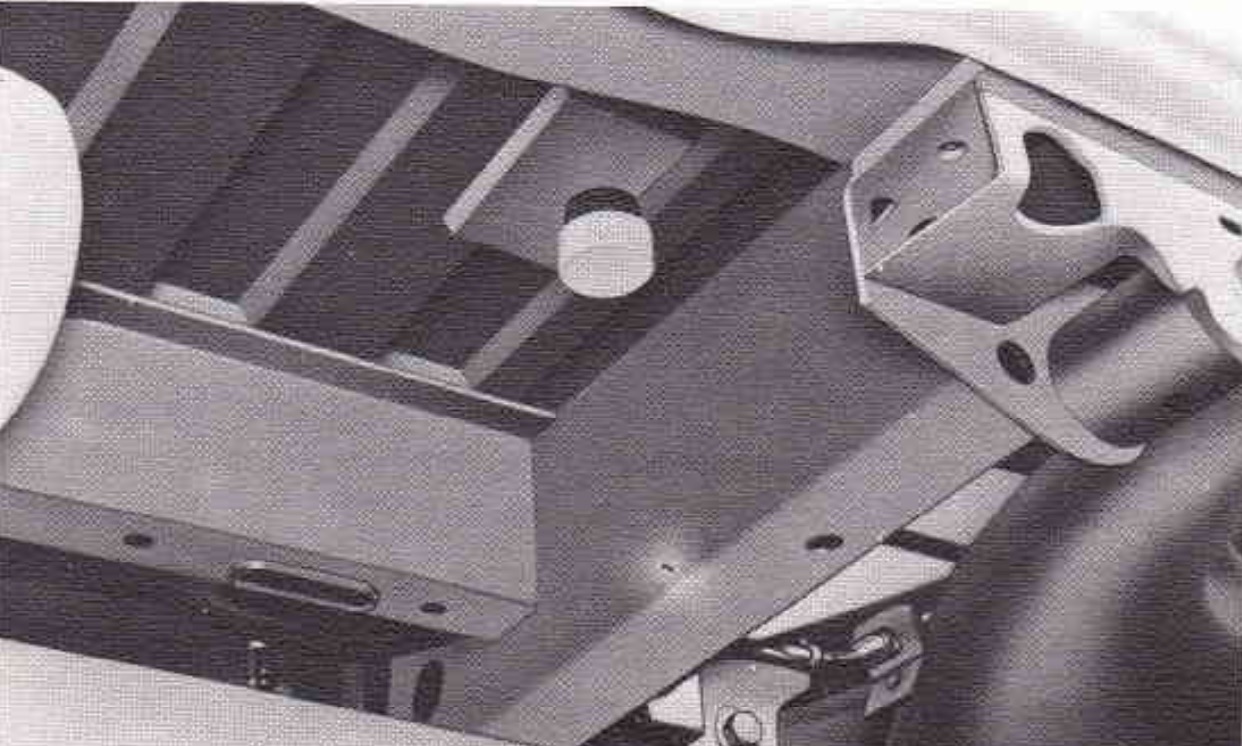
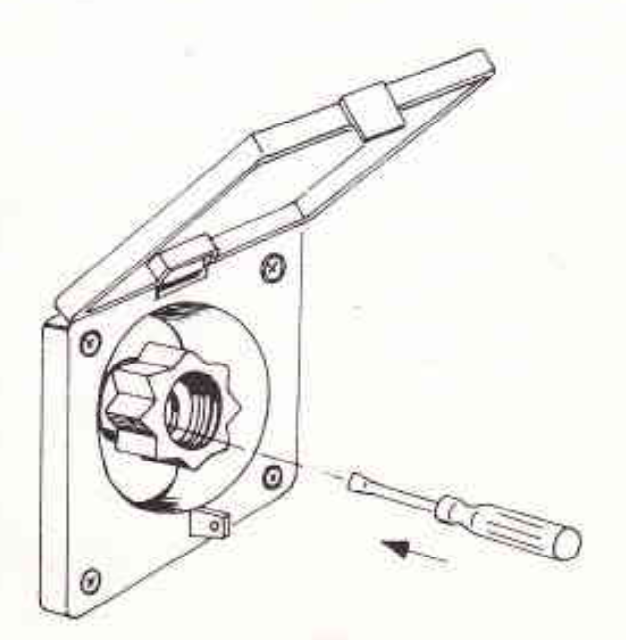


 “The Haynes”