
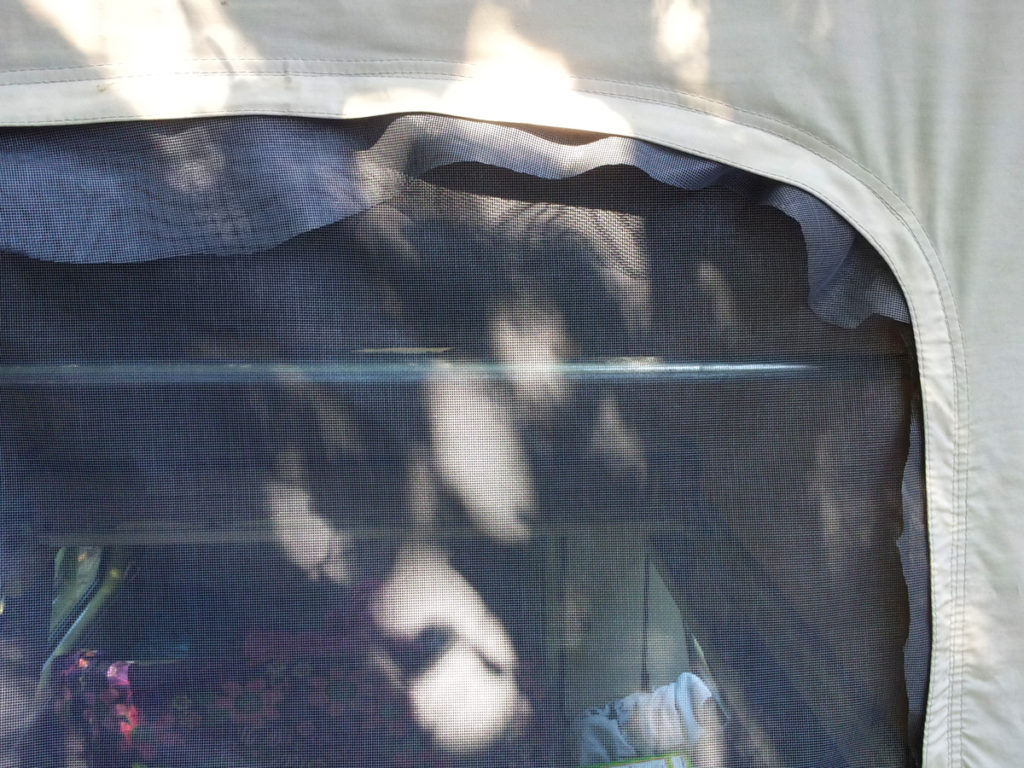
How to replace the torn or tattered window screen in your Volkswagen Westfalia Camper popup tent
After many miles and many years of camping, the insect screen in the popup tent window of your campervan can turn old and brittle. It will eventually start splitting and crumbling apart, allowing pesky bugs into your cozy abode.
Fortunately, for a few dollar’s worth of materials and a bit of time, you can easily replace your old screen with a new one, without special tools or the need to completely remove the tent from the van.
First, you’ll carefully remove the shreds of your tattered old screen, pin a complete section of new screen into the window ‘frame’, then stitch it all into place before trimming the edges.
This can all be done while standing in the van with the top popped, though it may be helpful to do some bits while sitting in the overhead luggage rack.
NOTE: if your old screen is merely torn in a few spots and worth salvaging, you can use a curved sewing needle to ‘suture’ the wounds closed. Use a synthetic thread the same color as your screen to stitch first horizontally then vertically, to ‘weave’ new thread over the tear.
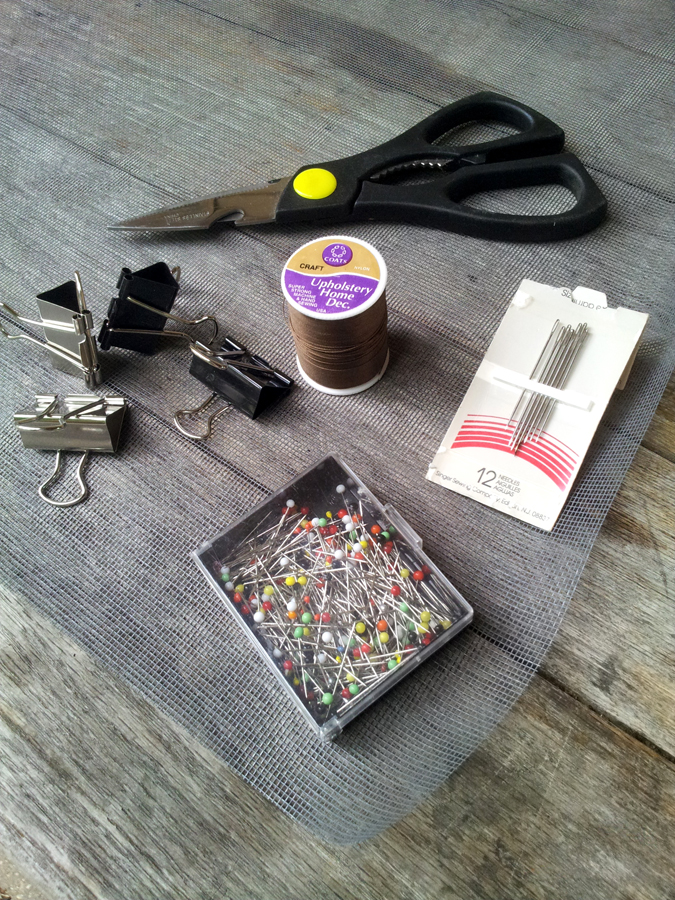
Materials & Tools
- fiberglass window screening, a roll large enough to provide a section at least 42 x 26″
- small roll of heavy-duty polyester or other synthetic upholstery thread, in a color to match your canvas
- about 20 round-headed pins and/or medium office binder clips
- medium hand sewing needle (or upholstery needle)
- scissors
- zipper cleaner & lubricant
- a short stool and maybe a step ladder?


Step 1: Remove the old screen
 Raise your popup roof and unzip/open the canvas window to expose the window screen. Roll and tie or clip the canvas window flap out of the way. If working from the interior, unzip the screen and allow it to hang down into the van where you can easily work on it.
Use the scissors to carefully cut the old screening material from the ‘frame’ which fastens it to the zipper, trimming as close to the edge as possible. Carefully do the same along the bottom edge. It may help to start by roughly cutting the entire center section of screen out, then finish by trimming out to the edges.
Once removed, close the screen zipper again.
Step 2: Attach bottom edge of new screen


Cut a section of new screen from the roll, about 42W x 26H”. Use a marker to mark the centers of the top and bottom edges of the screen, to help with alignment during the installation.
Lay the new screen into the window opening, allowing it to hang down into the van. Standing on a short stool or step ladder, peer outside and align the bottom edge of the screen with the bottom edge of the exterior lower seam, for a clean, factory appearance. Pin it firmly into place for stitching.
In general, on this project I simply used the needle to draw the new thread through the existing factory stitches, to avoid adding new needle holes and to utilize the original stitches as a guide for a straight line.
Start by first stitching a simple vertical back stitch at one end of the seam, to reinforce the end of your stitch, then begin stitching along the bottom seam. I used a simple running & basting stitch, with shorter stitches on the inside and double-length stitches on the exterior to help fasten the screen to the canvas. About every tenth stitch, double back on your stitch, then continue, to strengthen the stitch and prevent unraveling.
Continue along the entire bottom edge like this, ensuring the screen remains straight and aligned with the factory seam, then end the stitch using another bar tack.
Step 3: Continue attaching entire screen


The next step is most easily done from outside the van, while sitting in the rooftop luggage rack, though one can improvise and work from the interior.
Grasping the top-center of the canvas window frame, pull the canvas downward, then pull the new screen upward to meet it and draw it taut. Tuck the screen up under the exterior flap which covers the zipper, then back out to the front; use several pins or binder clips to fasten the new screen into the opening.
Working your way from the center to the left or right, repeat, clipping or pinning all the way around the ‘frame’, ensuring as you go that the screen remains taut and smooth.
Once in place, unpin/unclip the upper-right (passenger-side) corner of the screen to allow you to reach through to the outside in order to make your return stitches. You can now continue stitching from outside or from back inside the van.
Starting in the lower-left (driver-side) corner of the window frame, begin stitching the screen to the zipper tape of the window ‘frame’. Again, start with a bar tack reinforcement, then begin a running stitch upward, reaching out through the open corner of the window to grab the needle and run it back through the tape and inside.
You’ll want to keep your stitches as close to the inner edge of the zipper tape as possible, in order to avoid the final trimmed edge of the screen interfering/snagging with the zipper pull later.
When you reach the top-center of the window frame, re-pin/clip the upper-right (passenger-side) section of the screen to the frame and draw it taut. Now that the left/driver’s half of the screen is firmly stitched into place you can unzip the lower-left (drivers-side) portion to allow exterior access for stitching. Continue stitching the rest of the way around the window frame to the lower-right (passenger-side) corner, ending with a final bar tack.
Step 4: Trim excess screen, finish


Once stitched into place, you can remove all pins/clips and re-zip the entire screen to check for tautness.
If all looks well, trim the excess screen to prevent the trimmed edge from interfering with the zipper pull. This is best done from outside, but can also be done from the interior by simply unzipping the entire screen and allowing it to hang down into the van.
In the lower corners where the screen transitions from beneath the zipper flap to the exterior bottom seam, I trimmed the screen at 45-degree angles for a neat appearance.
Test the zipper a few times to make sure it does not snag on the edges of the new screen. Now would also be a good opportunity to clean and lubricate both tent zippers.
This simple repair handily replaces your tattered old Westfalia insect screen, and helps keep your van tent working well for many more years of camping!
Have any questions, tips, or suggestions? Post ’em below, and use the buttons to share with your friends!


Perfect timing! The front screen on our 88 Westfalia (family owned since new) and all original with 104k split in a few places last summer. This was to be my first repair in the spring. Thank you.
Glad to help, Gunther!
Those screens are pretty durable, but they often need a little attention after 30+ years!
Keep on vannin’
It seems like the screen will be prone to ripping with the stitches just going through the screen squares instead of being covered with fabric/binding tape. Have you had any trouble with that? And have you tried to replace the side screens that do not zip open? Thanks for your reply.
Carolyn, I can certainly understand your concern, but this repair has held up well for a few years now.
If/when it ever fails, I would consider using a binding tape next time. If you do so, please send a photo of your repair!
Good luck!