How to find and identify leaking oil, coolant, fuel, and other automotive fluids.
We’ve all been there. You move your van to a new spot in the driveway and discover a new stain. Or, you just get settled in your campsite when your partner asks, “Dear, what is this colorful puddle under the van?”
 Once, on the way home from a solo camping trip, I stopped for fuel and went inside to pay. As I stepped back outside, I spied a trickle of a mysterious fluid on the pavement, an inch wide and fifty feet long, leading me back to my van.
Even old Vanagons should never drip their lifeblood on the road or driveway. The loss of vital fluids can lead to severe engine or transaxle wear, overheating, failed brakes, or a catastrophic vehicle fire. Repairing such leaks is important, but determining their source is often difficult.
Here’s how.
Keep Looking Up
 Most automotive fluid leaks generally stem from a single source, a root, if you will. Gravity being what it is, this source will usually be higher than the drip or stain. So, start by carefully following the leak upwards towards the highest part of the stain. In all likelihood, its initial source will be somewhere near here.
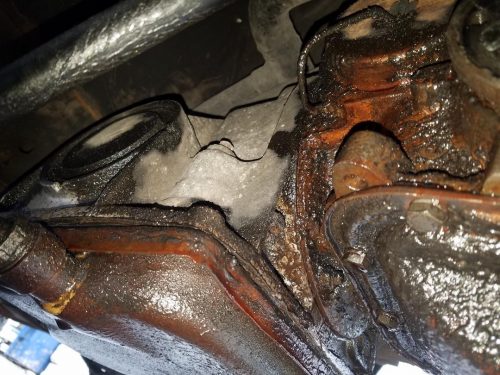
This is much easier if you make a habit of maintaining a clean and tidy engine compartment, which makes such leaks and their sources more glaringly obvious. Sometimes however, gravity, engine vibration, and air flow all conspire to divide and disperse the leak, so that by the time you notice the first alarming drip, half the engine is stained and there is no obvious culprit.
A Clean Engine Room is a Happy Engine Room
If you don’t typically keep things clean down there, or the engine has been leaking for awhile, it’s probably a real mess, and tracing the leak in a logical and rational fashion may be impossible. So, clean it now. Get some good spray-on engine degreaser and either use a garden hose in the driveway, or drive to an automated car wash with an underbody spray. Following the directions on the degreaser, spray the dirty bits, let it soak for awhile, scrub with a stiff brush or scraper to loosen as much oil and other gunk on the engine or gearbox as possible, then rinse. Repeat if necessary.
 Let it air dry, or run the engine a little bit to evaporate the water, or towel it down with some clean rags, so it’s clean and dry. If there are any lingering stains, spot-clean those by hand until it’s clean-clean!
Now, if you jump in and drive it twenty miles, it will probably start leaking and flinging fluid all around and you’ll have to start all over again. Instead, run or drive it only long enough to create a small traceable leak, and not long enough to thoroughly flood the area again. Then pull over somewhere safe and inspect again with a bright light and a few rags and maybe a flexible inspection mirror. (Be careful to avoid burns, as the engine and exhaust is probably starting to get hot.) If you did a thorough cleaning job, any small leaks should now be much easier to spot on that shiny-clean engine. Take a good look around the area of the original leak.
Find It, and Fix It
What do you see? Any new leaks? If so, wipe them down with your rags until clean. Again, be sure to look a little higher than you might expect.
Either way, drive another mile or two and pull over and look again. If the leak has returned, you’ve found your problem. And you now know where to focus your attention, and to apply your talents, and perhaps a bit of sealant. If not, then drive a couple more miles and repeat. You know it’s gonna leak again, you just need to catch it in the act.
Assumptions, Inferences, and Conjectural Postulations
When you first discover it, avoid the mistake of presuming to know what the leaking fluid IS. The hydraulic fluid used in the Vanagon braking and manual-clutch systems, for example, can look like clean motor oil. Diluted yellow-green anti-freeze coolant looks an awful lot like the yellow-gold color of diesel fuel.
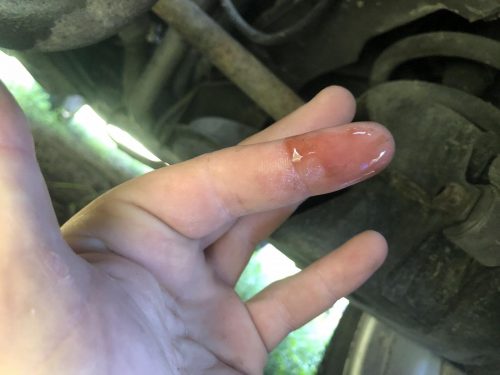
Coolant and hydraulic fluid can feel somewhat ‘sticky’ between your fingers; the coolant may smell sweet. Transaxle gear oil usually has a high sulfur content, smelling like rotten eggs. Before barking up the wrong tree, try to determine by feel or odor exactly what the leaking fluid is.
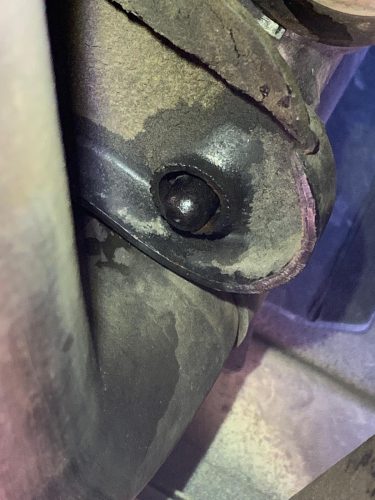
 Once you’ve narrowed down the area of the source, look for the actual leak. Hose clamps, broken fittings, seals and gaskets between mated parts, fill & drain plugs, are all common culprits. Once you’ve confirmed the source, you can proceed with confidence and begin remedying the problem.
Of course, though we’ve been focusing here on the engine compartment, all of the above also applies to leaks elsewhere on the van: brakes, CV drive axles, radiator and coolant pipes & hoses, and more.
Now that the engine is clean and dry, make some ongoing effort to keep it that way. A tidy engine and drivetrain will alert you to future leaks early on, before they become a bigger problem, and will help you identify their causes.


